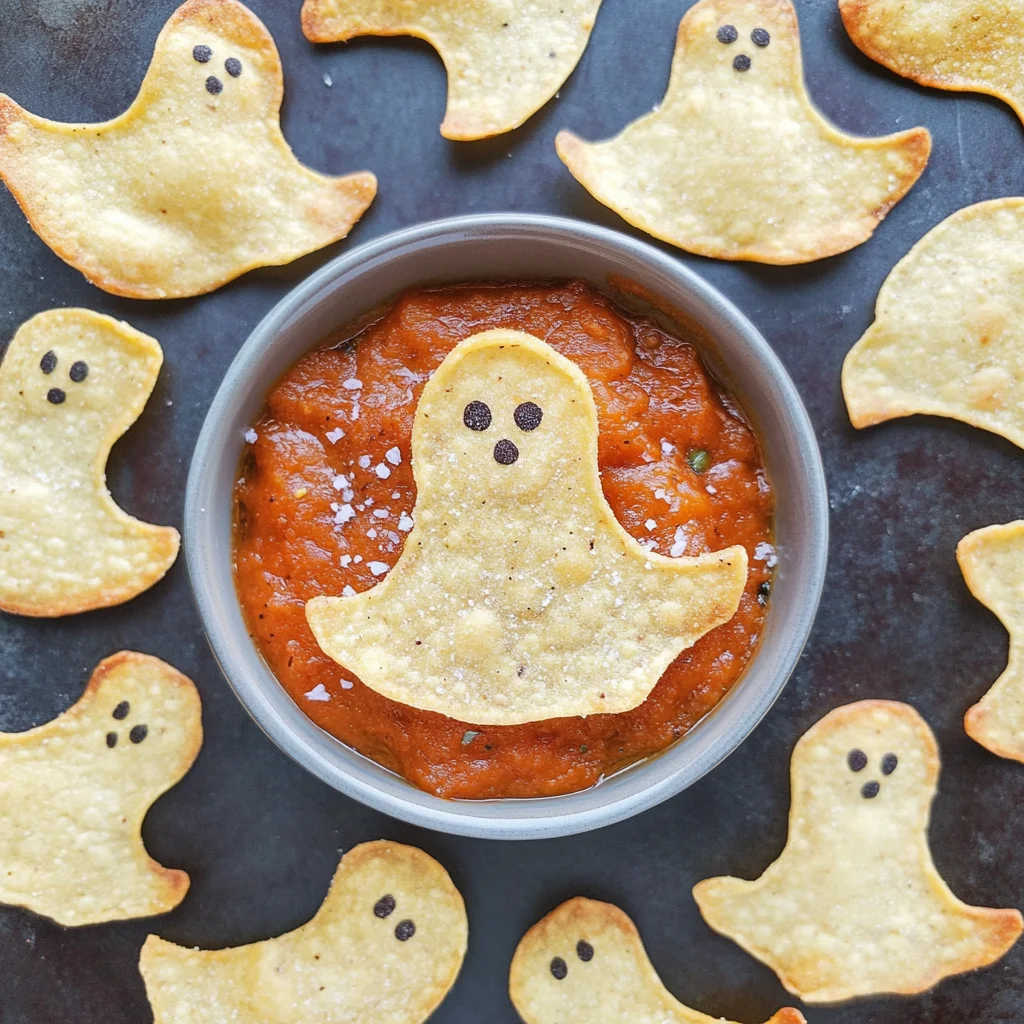
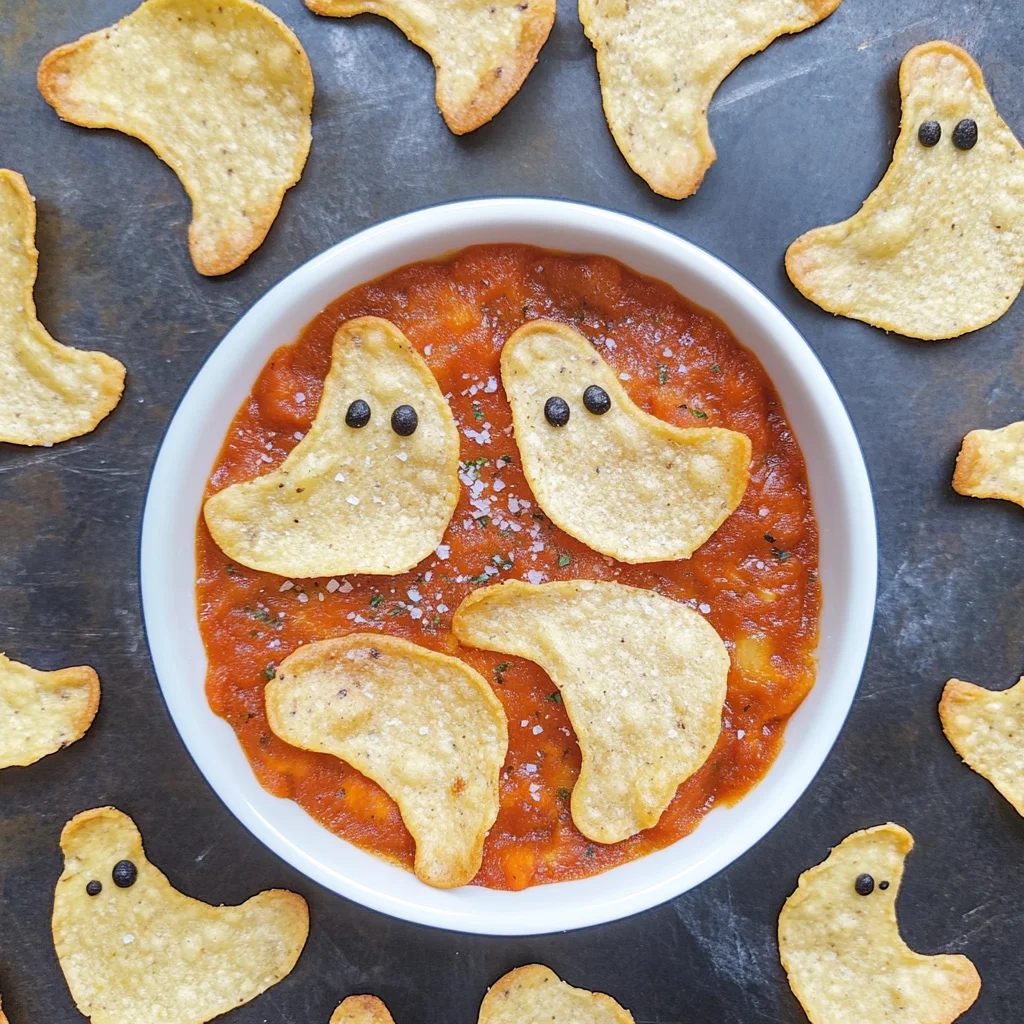
Spooky Baked Halloween Chips are a delightfully fun and easy snack that will thrill both kids and adults this Halloween season. With just three ingredients and a mere 15 minutes of prep time, these adorable ghost-shaped chips make for the perfect treat at any spooky gathering. Whether you’re hosting a Halloween party or simply looking for a festive snack, these baked chips are sure to impress with their crispiness and versatility. Pair them with your favorite dips for an unforgettable Halloween munchie!
Why You’ll Love This Recipe
- Quick and Easy: This recipe takes only 15 minutes to prepare, making it a great last-minute snack option.
- Minimal Ingredients: With just three simple ingredients, it’s easy to whip up these treats without fuss.
- Fun for Everyone: Shaped like ghosts, these chips add a playful touch to any Halloween celebration.
- Healthy Alternative: Baked instead of fried, these chips offer a lighter version of traditional tortilla chips.
- Versatile Pairing: Enjoy them with salsa, guacamole, or even soup for a deliciously unique experience.
Tools and Preparation
To make Spooky Baked Halloween Chips, you’ll need a few essential tools to ensure everything goes smoothly in the kitchen.
Essential Tools and Equipment
- Cookie sheet
- Oven
- Halloween cookie cutter
- Spray bottle (for oil)
Importance of Each Tool
- Cookie sheet: A sturdy surface is crucial for baking your chips evenly without burning them.
- Halloween cookie cutter: This tool is essential for creating fun ghost shapes that will wow your guests.
- Spray bottle: Using a spray bottle allows you to evenly coat the chips in oil without excess mess.
Ingredients
For the Chips
- 4 flour tortillas (gluten-free or grain-free, as needed)
- Spray avocado or olive oil
- Salt
- Halloween cookie cutter
How to Make Spooky Baked Halloween Chips
Step 1: Preheat the Oven
Preheat your oven to 375 degrees F. While the oven heats up, lightly grease your cookie sheet to prevent sticking.
Step 2: Cut Out Ghost Shapes
Working one tortilla at a time:
1. Use the Halloween cookie cutter to cut out ghost shapes from each tortilla.
2. Aim to get about 5-6 ghosts per tortilla by placing your cuts close together to avoid waste.
Step 3: Prepare for Baking
Transfer the ghost-shaped cutouts onto your prepared baking sheet:
1. Lightly mist each chip with avocado or olive oil spray.
2. Sprinkle salt over the top of the chips for added flavor.
Step 4: Bake Your Chips
Place the baking sheet in the preheated oven:
1. Bake at 375 degrees F for 5-7 minutes until crispy and golden brown.
2. Once done, remove from the oven and let cool slightly before serving with your favorite dips like salsa or guacamole.
Enjoy your Spooky Baked Halloween Chips!
How to Serve Spooky Baked Halloween Chips
Spooky Baked Halloween Chips are not just fun to make; they also pair perfectly with a variety of tasty dips and dishes. Here are some delightful serving suggestions that will elevate your Halloween snacking experience.
With Dips
- Salsa: A classic choice, salsa adds a zesty touch that complements the light, crispy chips.
- Guacamole: Creamy and rich, guacamole enhances the flavor of the spooky chips while adding a fresh twist.
- Pumpkin Taco Soup: For a heartier option, serve these chips alongside warm pumpkin taco soup for a seasonal treat.
As Part of a Platter
- Veggie Platter: Arrange spooky chips with colorful veggies like carrots, cucumbers, and bell peppers for a healthy snack.
- Cheese Board: Include your ghost-shaped chips on a cheese board with assorted cheeses for an elegant touch to your Halloween gathering.
- Halloween-Themed Snacks: Combine with other themed snacks like mini hot dogs or spooky-shaped cookies for added fun.
At Parties
- Game Night: Use these spooky chips as a fun snack during game night—everyone will love the festive vibe!
- Movie Marathon: Perfect for Halloween movie marathons, these chips make munching easy while keeping the theme alive.
How to Perfect Spooky Baked Halloween Chips
To ensure your Spooky Baked Halloween Chips come out perfectly every time, consider these helpful tips.
- Use Fresh Tortillas: Fresh tortillas yield better texture and flavor than stale ones. Look for high-quality options.
- Cut Close Together: When using cookie cutters, place them close together to minimize waste and maximize chip output.
- Even Oil Spray: Apply an even amount of oil spray to ensure all chips get crispy without excess grease.
- Monitor Baking Time: Keep an eye on the chips while baking; they can go from perfect to burnt quickly in the oven.
- Cool Before Serving: Let the chips cool slightly before serving to enhance their crispness and avoid burns.
Best Side Dishes for Spooky Baked Halloween Chips
Pairing side dishes with your Spooky Baked Halloween Chips can make your snack spread even more festive. Here are some great ideas:
- Bold Chili: A hearty bowl of chili pairs well with the crunch of the chips—perfect for cozy gatherings.
- Creamy Spinach Dip: This rich dip is a crowd-pleaser that complements the texture of baked chips beautifully.
- Zesty Bean Salad: A refreshing bean salad adds color and nutrition to your snack table while blending flavors nicely.
- Stuffed Jalapeños: Spicy stuffed jalapeños provide a kick that contrasts well with the mild tortilla flavors.
- Sweet Corn Salsa: This sweet salsa brings brightness and sweetness that balances out savory flavors in your meal.
- Mini Quiches: Bite-sized quiches add an elegant touch that pairs wonderfully with crispy ghost-shaped snacks.
Common Mistakes to Avoid
Making Spooky Baked Halloween Chips can be fun, but there are common mistakes that can lessen your experience. Here are a few to watch out for:
- Using the wrong tortillas – Always choose flour tortillas that are fresh and pliable for easy cutting. Stale tortillas can break easily.
- Not preheating the oven – Preheating ensures even cooking. Skipping this step can lead to unevenly baked chips.
- Overcrowding the baking sheet – Give each chip space to crisp up properly. Overlapping them can result in soggy spots.
- Skipping oil spray – Lightly misting with avocado or olive oil helps achieve that perfect crunch. Skipping this step can lead to dry chips.
- Ignoring baking time – Keep an eye on them as they bake. Leaving them in too long can turn your chips from crispy to burnt.
Storage & Reheating Instructions
Refrigerator Storage
- Store leftover chips in an airtight container.
- They will stay fresh for up to 3 days in the fridge.
Freezing Spooky Baked Halloween Chips
- For longer storage, freeze the chips in a single layer on a baking sheet before transferring them to a freezer bag.
- They can be frozen for up to 2 months.
Reheating Spooky Baked Halloween Chips
- Oven – Preheat your oven to 350°F and bake for about 5 minutes until crispy again.
- Microwave – Place chips on a microwave-safe plate and heat for 10-15 seconds. This may not retain crispiness as well.
- Stovetop – Heat in a non-stick skillet over low heat for 1-2 minutes, flipping occasionally until warm.
Frequently Asked Questions
Here are some frequently asked questions about Spooky Baked Halloween Chips:
Can I use different shapes for the chips?
You can absolutely use any cookie cutter shape you like! Ghosts are fun, but bats and pumpkins also make great spooky snacks.
How do I make these chips spicy?
To add some heat, sprinkle chili powder or cayenne pepper on top before baking. Adjust according to your spice preference!
Are Spooky Baked Halloween Chips gluten-free?
Yes, if you choose gluten-free tortillas, these chips will be gluten-free and suitable for those with dietary restrictions.
What dips go well with Spooky Baked Halloween Chips?
These ghostly treats pair perfectly with salsa, guacamole, or even pumpkin dip for a seasonal twist!
Final Thoughts
These Spooky Baked Halloween Chips are a delightful snack perfect for any Halloween gathering. They’re simple to make and customizable based on your favorite shapes and flavors. Try adding different spices or serve them alongside various dips for extra fun!
Spooky Baked Halloween Chips
- Prep Time: 15 minutes
- Cook Time: 7 minutes
- Total Time: 22 minutes
- Yield: Approximately 2 servings (12 chips total) 1x
- Category: Snack
- Method: Baking
- Cuisine: American
Description
Spooky Baked Halloween Chips are a fun and festive treat perfect for any Halloween gathering. With just three simple ingredients and minimal prep time, these ghost-shaped baked chips are not only easy to make but also offer a healthier alternative to traditional fried snacks. In just 15 minutes, you can create a crispy, delicious snack that pairs wonderfully with your favorite dips like salsa or guacamole. Whether you’re hosting a Halloween party or need a quick munchie for movie night, these delightful chips will surely impress both kids and adults alike!
Ingredients
- 4 flour tortillas (gluten-free or grain-free, as needed)
- Spray avocado or olive oil
- Salt
Instructions
- Preheat the oven to 375°F.
- Lightly grease a cookie sheet.
- Use a Halloween cookie cutter to cut ghost shapes from each tortilla.
- Place the ghost-shaped cutouts on the prepared baking sheet.
- Mist each chip with avocado or olive oil spray and sprinkle with salt.
- Bake for 5-7 minutes until crispy and golden brown.
- Let cool slightly before serving.
Nutrition
- Serving Size: 6 chips (30g)
- Calories: 140
- Sugar: 0g
- Sodium: 190mg
- Fat: 6g
- Saturated Fat: 1g
- Unsaturated Fat: 5g
- Trans Fat: 0g
- Carbohydrates: 20g
- Fiber: 2g
- Protein: 3g
- Cholesterol: 0mg
Keywords: For added flavor, sprinkle chili powder or spices before baking. Experiment with different cookie cutter shapes for variety.