
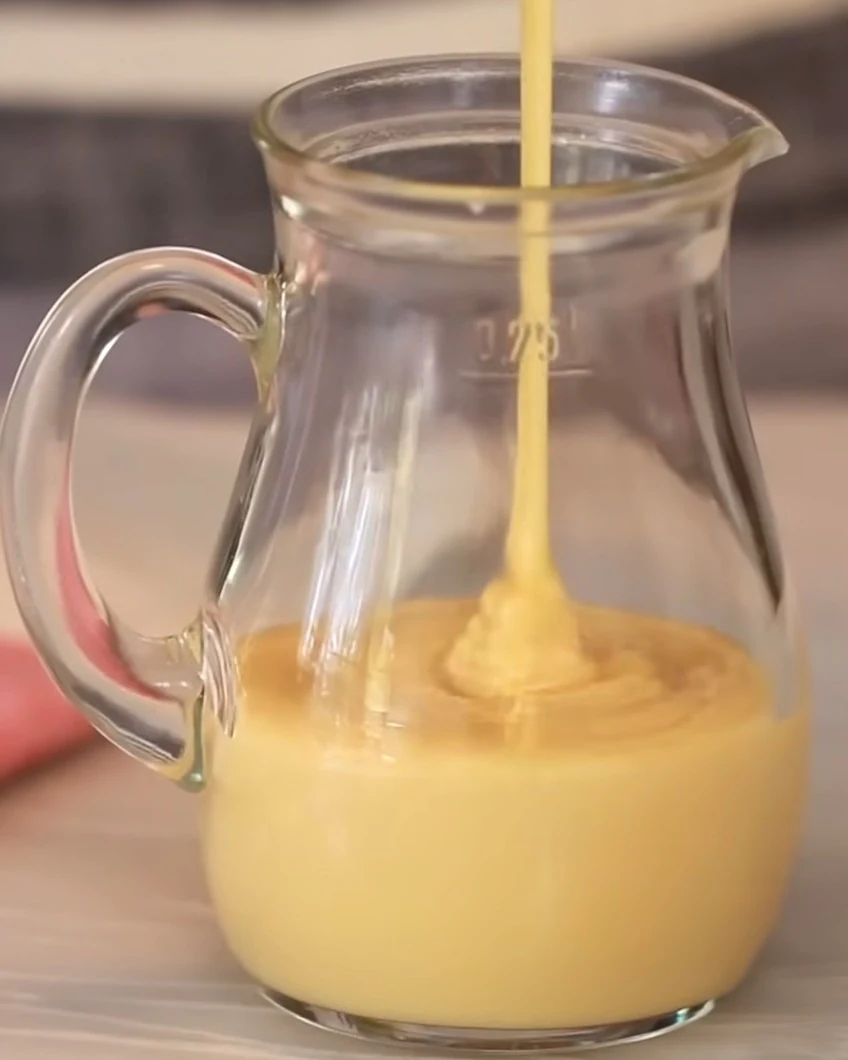
Homemade Condensed Milk is a delightful treat that elevates desserts and beverages alike. This creamy, sweet concoction is easy to make and offers a rich flavor that store-bought options can’t match. With just a few simple ingredients, you can enjoy the luxury of homemade condensed milk anytime.
Why You’ll Love This Recipe
- Quick & Easy: Ready in under 30 minutes, making it a perfect last-minute addition to your recipes.
- Versatile Ingredient: Use it in coffee, baking, or as a topping for desserts.
- Cost-Effective: Save money by making your own instead of buying expensive store brands.
- Customizable Flavor: Adjust sweetness and add flavors to suit your taste preferences.
- No Preservatives: Enjoy a cleaner ingredient list with no artificial additives.
Tools and Equipment
Gathering the right tools makes the process smooth and efficient.
Essential Tools
- Blender
- Medium pot
- Glass jar for storage
- Measuring cups and spoons
Why These Tools Matter
- Blender: Ensures a smooth and well-mixed consistency for your condensed milk.
- Medium pot: Ideal for gently heating the sugar and water mixture without burning.
- Glass jar for storage: Keeps your homemade condensed milk fresh and visible.
Ingredients for Homemade Condensed Milk
Base Ingredients
- 1 cup of milk powder
- 1 cup of sugar
- 1/4 cup of water
- 1 tablespoon of vanilla essence
How to Make Homemade Condensed Milk Step-by-Step
Step 1: Create the Sugar Mixture
In a medium pot, combine 1 cup of sugar and 1/4 cup of water. Heat over medium-low until the sugar completely dissolves. Be careful not to boil or brown the mixture.
Step 2: Blend the Sugar Mixture
Once the sugar is dissolved, transfer it to a blender. Blend for about one minute, then add 1 tablespoon of vanilla essence.
Step 3: Incorporate the Milk Powder
Gradually add 1 cup of milk powder to the blender while it continues to run. This helps achieve a smooth texture.
Step 4: Blend Until Smooth
After adding all the milk powder, blend for about five minutes. To prevent straining the blender, pause every minute for 30 seconds. If the mixture is too thick, add 2 or 3 tablespoons of water as needed.
Step 5: Store Your Condensed Milk
Once blended, transfer the mixture to a glass jar. Allow it to cool before storing in the refrigerator. Enjoy your homemade condensed milk in various recipes or as a sweet treat on its own.
How to Serve Homemade Condensed Milk
Homemade condensed milk is versatile and can enhance a variety of dishes. Here are some creative serving ideas:
Drizzle Over Desserts
Use homemade condensed milk as a sweet topping for desserts like brownies, cake, or ice cream. Its creamy texture and sweetness elevate any treat.
Coffee Companion
Add a spoonful of condensed milk to your coffee for a rich, creamy flavor. It can transform your morning brew into a delightful café-style beverage.
Smoothie Ingredient
Blend homemade condensed milk into your smoothies for added sweetness and creaminess. It pairs well with fruits like bananas and strawberries, creating a luscious drink.
Pro Tips for the Best Homemade Condensed Milk
To achieve the perfect homemade condensed milk, keep these tips in mind:
-
Quality Ingredients: Use high-quality milk powder and sugar for the best flavor and texture. This greatly impacts the final product.
-
Blend Thoroughly: Ensure you blend the mixture long enough to achieve a smooth consistency. This prevents any graininess in the final product.
-
Adjust Consistency: If the mixture is too thick, gradually add small amounts of water while blending until you reach your desired consistency.
-
Storage Tips: Store your condensed milk in an airtight container in the refrigerator to maintain freshness. It can last for up to two weeks.
-
Experiment with Flavors: Feel free to experiment by adding different flavor extracts, such as almond or coconut, to customize your condensed milk.
Best Side Dishes and Pairings
Homemade condensed milk pairs beautifully with a variety of dishes. Consider these options:
-
Pancakes: The sweetness of condensed milk complements fluffy pancakes perfectly, creating a delightful breakfast treat.
-
Fruit Salad: Drizzle over a fresh fruit salad to enhance the natural sweetness of the fruits while adding creaminess.
-
Cheesecake: Use homemade condensed milk in your cheesecake recipes for added richness and texture, making the dessert even more indulgent.
-
Thai Sticky Rice: Pair with mango and sticky rice for a traditional Thai dessert that balances sweetness and creaminess beautifully.
-
Churros: Serve warm churros with a side of condensed milk for dipping, adding a sweet and creamy element to this crunchy treat.
Common Mistakes to Avoid
- Using the Wrong Temperature: Heat the sugar and water over medium-low heat to prevent boiling or browning.
- Skipping the Blending Step: Proper blending is crucial for a smooth texture; don’t rush this part.
- Not Storing Properly: Make sure to use an airtight container to keep your homemade condensed milk fresh.
- Ignoring Consistency: If the mixture is too thick, add a little water gradually while blending to achieve the desired consistency.
Storage & Reheating Instructions
Refrigerator Storage
Store your homemade condensed milk in an airtight container in the refrigerator. It will stay fresh for up to two weeks.
Freezing Instructions
To freeze homemade condensed milk, pour it into a freezer-safe container and leave some space for expansion. It can be frozen for up to three months. To thaw, transfer it to the refrigerator overnight.
Reheating Tips
- Oven: Preheat to 350°F (175°C), place the container in a baking dish with water, and heat for about 15 minutes.
- Microwave: Heat in 15-second intervals, stirring in between, until warm.
- Stovetop: Gently heat in a saucepan over low heat, stirring constantly to prevent scorching.
Frequently Asked Questions
How can I make my Homemade Condensed Milk sweeter?
You can adjust the sugar level in the recipe to suit your taste. Simply add more sugar during the initial cooking phase.
Can I use different types of milk powder?
Yes, you can use whole milk powder, skim milk powder, or even non-dairy milk powder for a vegan option.
How long does Homemade Condensed Milk last?
When stored in an airtight container in the refrigerator, it stays fresh for up to two weeks.
Can I use Homemade Condensed Milk in recipes?
Absolutely! It’s perfect for desserts, coffee, and various baking recipes.
Is Homemade Condensed Milk healthier than store-bought?
Homemade condensed milk allows you to control the ingredients and sugar content, making it a healthier alternative.
Final Thoughts
Making homemade condensed milk is simple and rewarding. This recipe provides a delicious, customizable product for your culinary creations. I encourage you to try it out and share your thoughts in the comments below.
Desserts
PrintHomemade Condensed Milk

This homemade condensed milk recipe is a simple and delicious alternative to store-bought versions. Made with just four ingredients, it provides a creamy, sweet addition to your desserts and beverages. Perfect for recipes that call for condensed milk, this version is easy to prepare and can be stored in the refrigerator for later use.
- Prep Time: 5 minutes
- Cook Time: 10 minutes
- Total Time: 15 minutes
- Yield: 1 cup 1x
- Category: Desserts
- Method: No bake
- Cuisine: American
Ingredients
- 1 cup of milk powder
- 1 cup of sugar
- 1/4 cup of water
- 1 tablespoon of vanilla essence
Instructions
- In a pot, combine sugar and water over medium-low heat until the sugar is completely dissolved. Do not allow the mixture to boil or brown.
- Once the sugar is dissolved, transfer it to a blender. Blend for about a minute, then add the vanilla essence.
- Gradually incorporate the milk powder without stopping the blending.
- After all the milk powder is added, blend for about five minutes. Turn off the blender every minute for 30 seconds to avoid straining. If the mixture is too thick, add 2 or 3 tablespoons of additional water while continuing to blend.
- Once ready, transfer the mixture to a glass jar, let it cool, and store it in the refrigerator.
Nutrition
- Calories: 1200
- Sugar: 240g
- Sodium: 200mg
- Fat: 20g
- Saturated Fat: 12g
- Carbohydrates: 240g
- Fiber: 0g
- Protein: 24g
- Cholesterol: 80mg